How to Install Google Chrome Extensions in Microsoft Edge
6 December 2022 | 1 mins read
- App Tutorials
If you’re a tech person, you’re probably used to using Google Chrome for all your browsing needs. Google Chrome extensions can be a great way to add features to your web browsing experience, but what if you want to use them in Microsoft Edge?
In this guide, we’ll show you how to install Chrome extensions in Microsoft Edge. This process is simple and only takes a few minutes.
How to Install Chrome Extensions in Microsoft Edge
Installing Chrome extensions in edge is a fairly straightforward process.
Here’s how to do it:
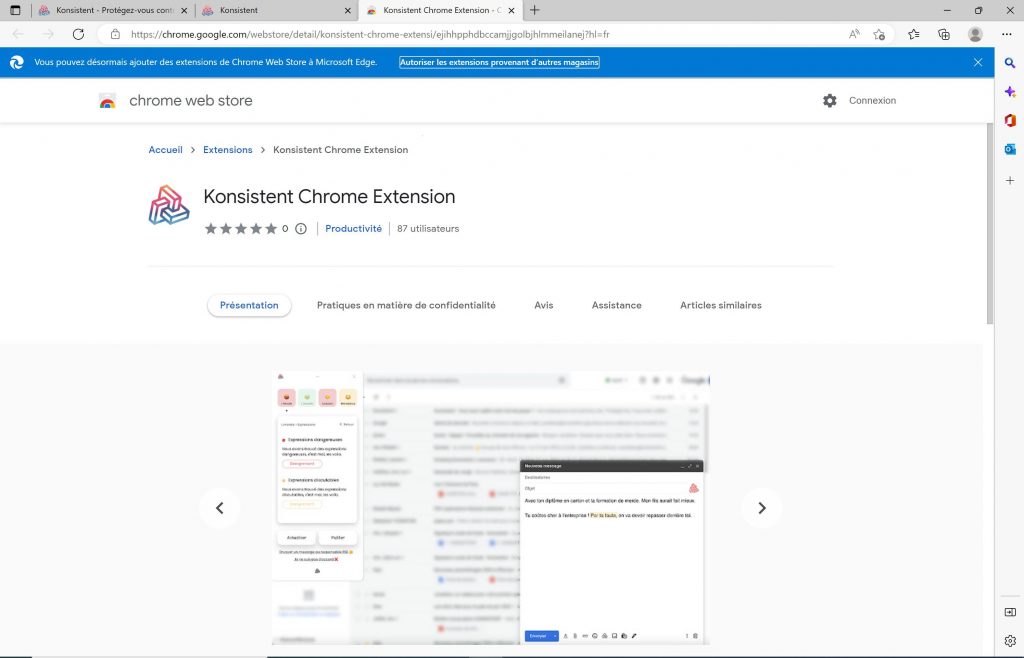
1. Open Microsoft Edge and navigate to the Chrome Web Store. Search for the extension you would like to install.
2. Click “Allow extensions from other stores” switch in the bar that appears at the top of the page.
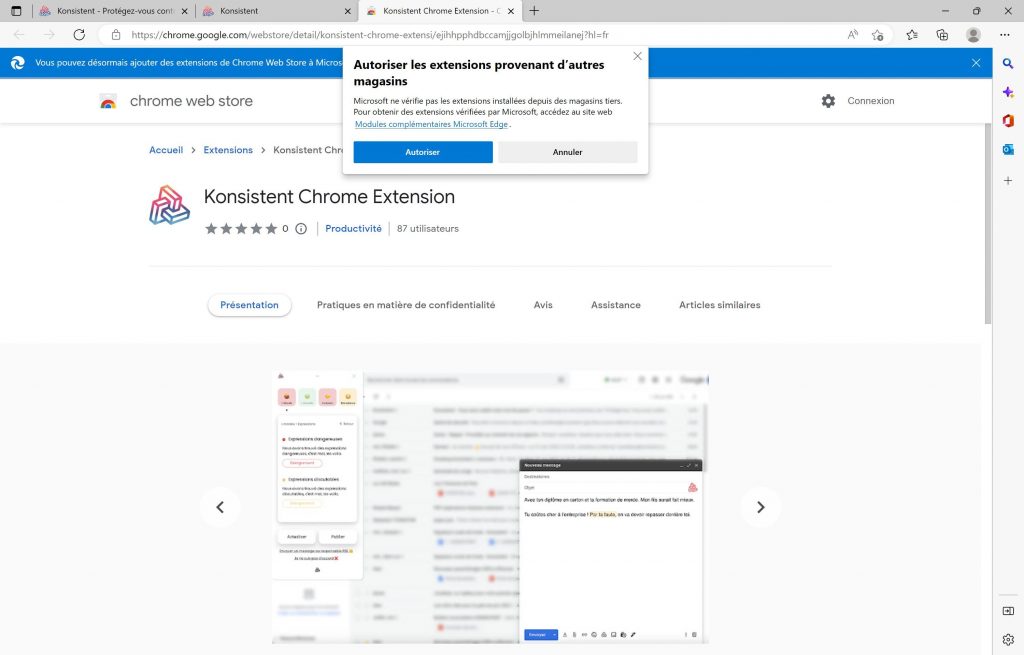
3. Click “Authorize” in the confirmation dialog box that appears. The extension will now be added to Edge and can be managed from the Extensions page.
4. Once authorized, click “Add to Chrome” on the right side of the page next to the extension.
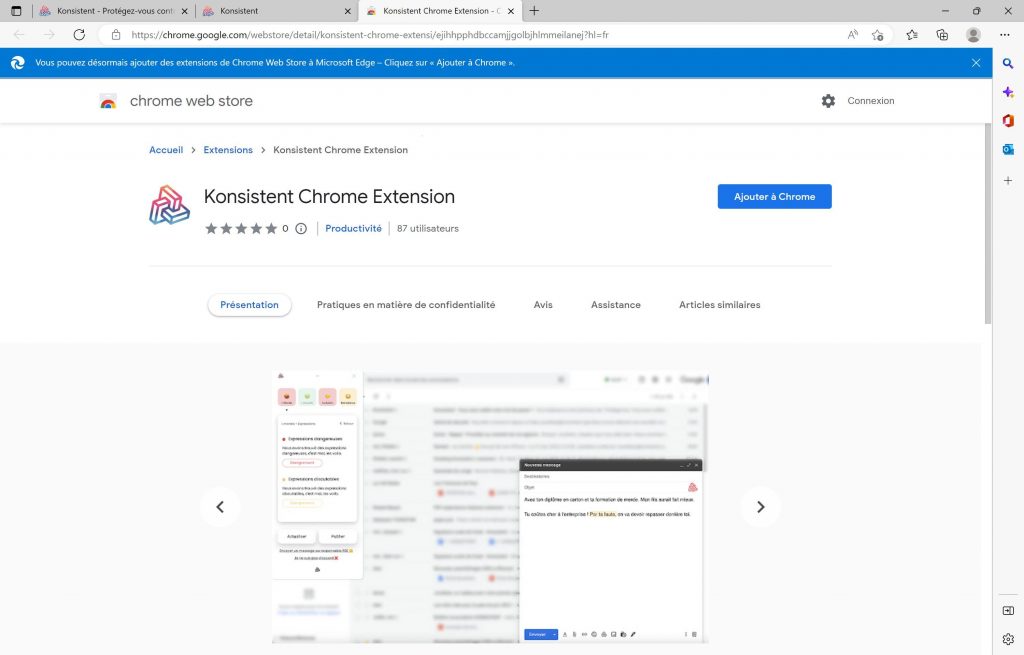
5. Click “Add the extension” on the pop-up box to confirm.

6. You’re done! You will now see the Google Chrome extension in your list of Edge extensions. To enable or disable it, simply toggle on/off the switch under its name.
That’s all there is to it! Installing Google Chrome extensions in Edge is quick and easy, and you can now enjoy the same features you get with Chrome on Microsoft’s browser.